Connect to FaunaDB
FaunaDB calls itself "the data API for modern applications." It's a database with a GraphQL interface that enables you to use GraphQL to interact with it. Since you communicate with it using HTTP requests, you don't need to manage connections, which works well for serverless applications.
This tutorial covers how to connect to a Fauna database from an application deployed on Deno Deploy.
You can find a more comprehensive tutorial that builds a sample application on top of Fauna here.
Get credentials from Fauna
We assume that you've already created a Fauna instance at https://dashboard.fauna.com.
To access your Fauna database programmatically, you'll need to generate a credential:
-
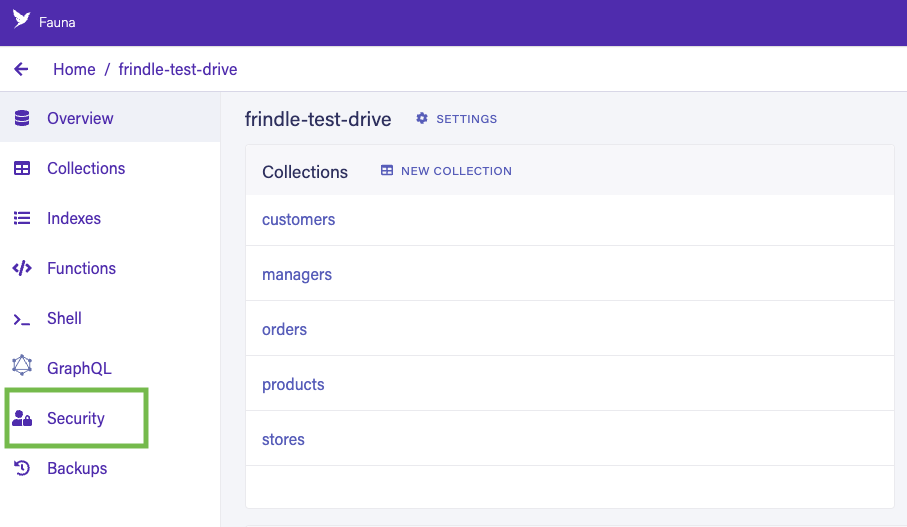
Click on Security section inside your particular database and click on New Key.
-
Select Server role and click on Save. Copy the secret. You'll need it for the next step.
Create a project in Deno Deploy
Next, let's create a project on Deno Deploy and set it up with the requisite environment variables:
- Go to https://dash.deno.com/new (Sign in with GitHub if you didn't already) and click on + Empty Project under Deploy from the command line.
- Now click on the Settings button available on the project page.
- Navigate to the Environment Variables section and add the following secrets.
FAUNA_SECRET- The value should be the secret we created in the previous step.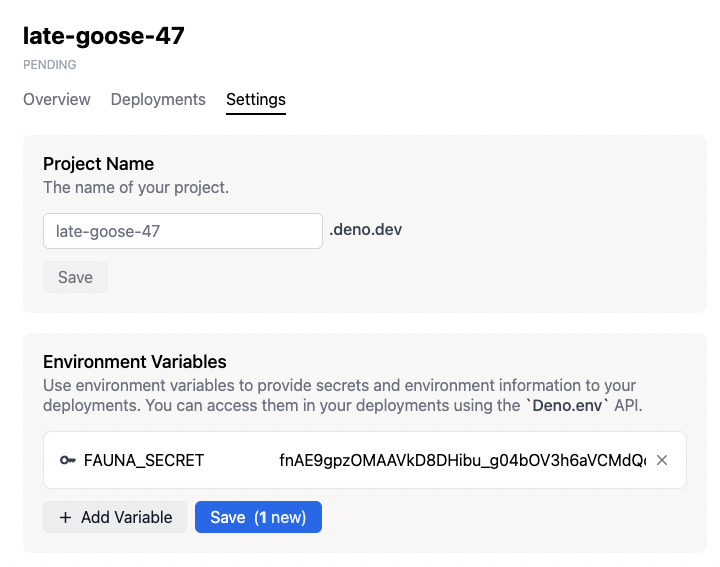
Write code that connects to Fauna
While with Node there is a Fauna JavaScript driver, with Deno, you should use the graphql endpoint.
Fauna has a graphql endpoint for its database, and it generates essential
mutations like create, update, delete for a data type defined in the
schema. For example, Fauna will generate a mutation named createQuote to
create a new quote in the database for the data type Quote.
To interact with Fauna, we need to make a POST request to its graphql endpoint with appropriate query and parameters to get the data in return. So let's construct a generic function that will handle those things.
import query from "https://esm.sh/faunadb@4.7.1";
import Client from "https://esm.sh/faunadb@4.7.1";

// Grab the secret from the environment.
const token = Deno.env.get("FAUNA_SECRET");
if (!token) {
  throw new Error("environment variable FAUNA_SECRET not set");
}

var client = new Client.Client({
  secret: token,
  // Adjust the endpoint if you are using Region Groups
  endpoint: "https://db.fauna.com/",
});
// HEAD
client.query(query.ToDate("2018-06-06"));
//
client
  .query(query.ToDate("2018-06-06"))
  //1e2f378 (Add some more pages)
  .then(function (res) {
    console.log("Result:", res);
  })
  .catch(function (err) {
    console.log("Error:", err);
  });
Deploy application to Deno Deploy
Once you have finished writing your application, you can deploy it on Deno Deploy.
To do this, go back to your project page at
https://dash.deno.com/projects/<project-name>.
You should see a couple options to deploy:
- Github integration
deployctldeployctl deploy --project=<project-name> <application-file-name>
Unless you want to add a build step, we recommend that you select the Github integration.
For more details on the different ways to deploy on Deno Deploy and the different configuration options, read here.