Connect to Neon Postgres
This tutorial covers how to connect to a Neon Postgres database from an application deployed on Deno Deploy.
You can find a more comprehensive tutorial that builds a sample application on top of Postgres here.
Setup Postgres
This tutorial will focus entirely on connecting to Postgres unencrypted. If you would like to use encryption with a custom CA certificate, use the documentation here.
To get started, we need to create a new Postgres instance for us to connect to. For this tutorial, we will be using Neon Postgres as they provide free, managed Postgres instances. If you like to host your database somewhere else, you can do that too.
-
Visit https://neon.tech/ and click Sign up to sign up with an email, Github, Google, or partner account. After signing up, you are directed to the Neon Console to create your first project.
-
Enter a name for your project, select a Postgres version, provide a database name, and select a region. Generally, you'll want to select the region closest to your application. When you're finished, click Create project.
-
You are presented with the connection string for your new project, which you can use to connect to your database. Save the connection string, which looks something like this:
postgres://alex:AbC123dEf@ep-cool-darkness-123456.us-east-2.aws.neon.tech/dbname?sslmode=requireYou will need the connection string in the next step.
Create a project in Deno Deploy
Next, let's create a project in Deno Deploy and set it up with the requisite environment variables:
- Go to https://dash.deno.com/new (Sign in with GitHub if you didn't already) and click on Create an empty project under Deploy your own code.
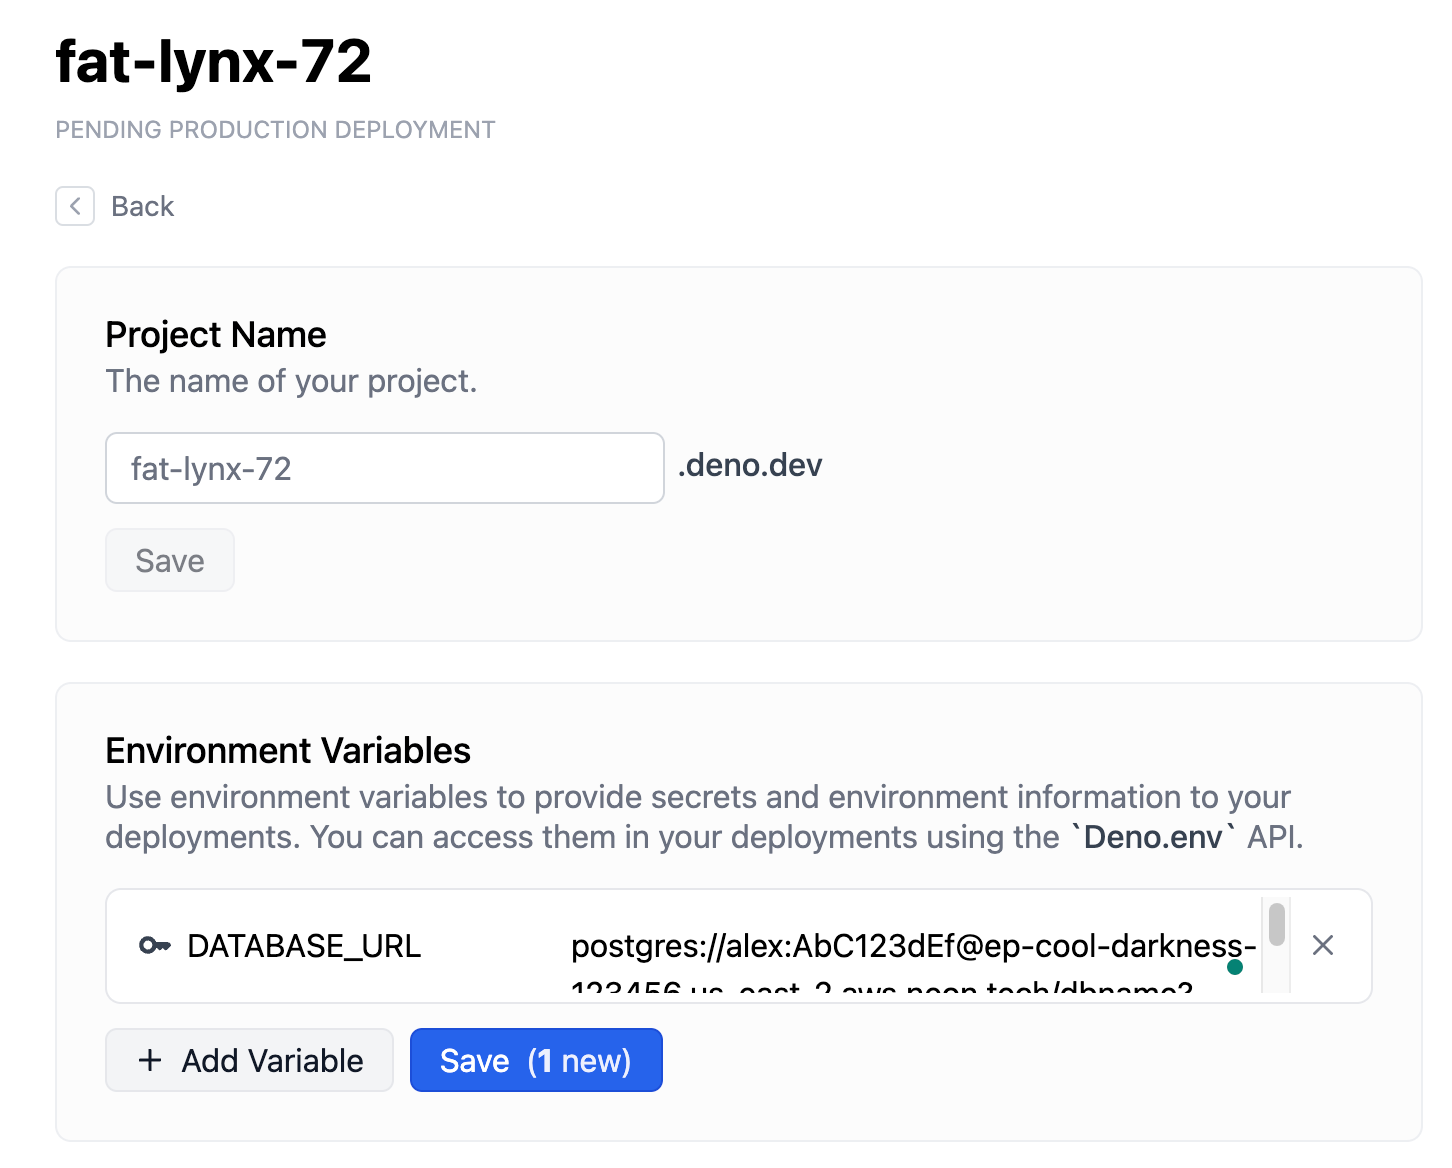
- Now click on the Settings button available on the project page.
- Navigate to Environment Variables Section and add the following secret.
DATABASE_URL- The value should be set to the connection string you saved in the last step.
Write code that connects to Postgres
To read/write to Postgres, import the Postgres module, read the connection string from the environment variables, and create a connection pool.
import { Pool } from "https://deno.land/x/postgres@v0.17.0/mod.ts";

// Get the connection string from the environment variable "DATABASE_URL"
const databaseUrl = Deno.env.get("DATABASE_URL")!;

// Create a database pool with three connections that are lazily established
const pool = new Pool(databaseUrl, 3, true);

// Connect to the database
const connection = await pool.connect();

try {
  // Create the table
  await connection.queryObject`
    CREATE TABLE IF NOT EXISTS todos (
      id SERIAL PRIMARY KEY,
      title TEXT NOT NULL
    )
  `;
} finally {
  // Release the connection back into the pool
  connection.release();
}
Deploy application to Deno Deploy
Once you have finished writing your application, you can deploy it on Deno Deploy.
To do this, go back to your project page at
https://dash.deno.com/projects/<project-name>.
You should see a couple of options to deploy:
- Github integration
deployctldeployctl deploy --project=<project-name> <application-file-name>
Unless you want to add a build step, we recommend that you select the GitHub integration.
For more details on the different ways to deploy on Deno Deploy and the different configuration options, read here.